
Put your site online
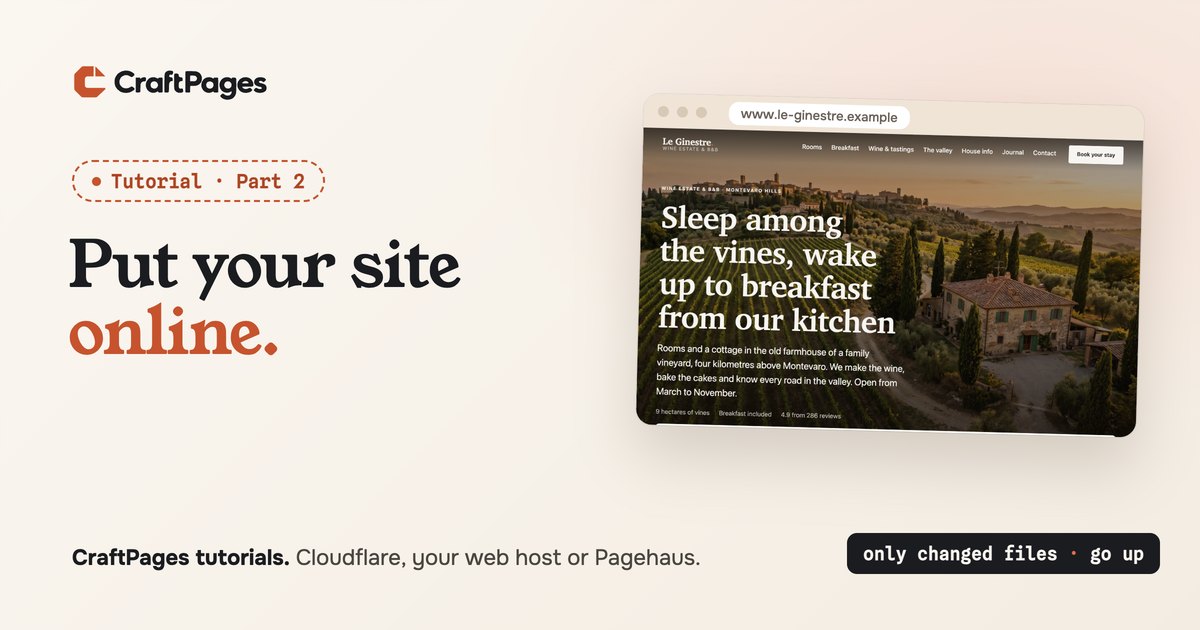
In part 1 Chiara changed two sentences on Le Ginestre's home page and clicked Save all. The app said Saved 1 page to your site folder · not online yet. Today we take care of "not online yet": we put the site on the internet, and then see what publishing looks like the second time, and the fiftieth.
You set publishing up once, in about ten minutes. After that it's one button.
Where should your site live?
A static site is just files, so almost any hosting can serve it. CraftPages publishes to three kinds:
| Where | Good when | What you need |
|---|---|---|
| Your web host (SFTP, FTP) | You already pay for hosting, maybe with your email and domain there | The SFTP or FTP login from your hosting panel |
| Cloudflare | You want free, fast hosting worldwide and don't have a host yet | A free Cloudflare account, its Account ID and an API token |
| Pagehaus | You want a host made for static sites, with the fewest settings | Your Pagehaus site name and password |
Le Ginestre already has hosting: the same company has run their domain and email for years, and the old site lived in its public_html folder. So Chiara publishes there, over SFTP. We'll do the same, and cover the Cloudflare and Pagehaus differences as we go.
Step 1. Add a deploy connection
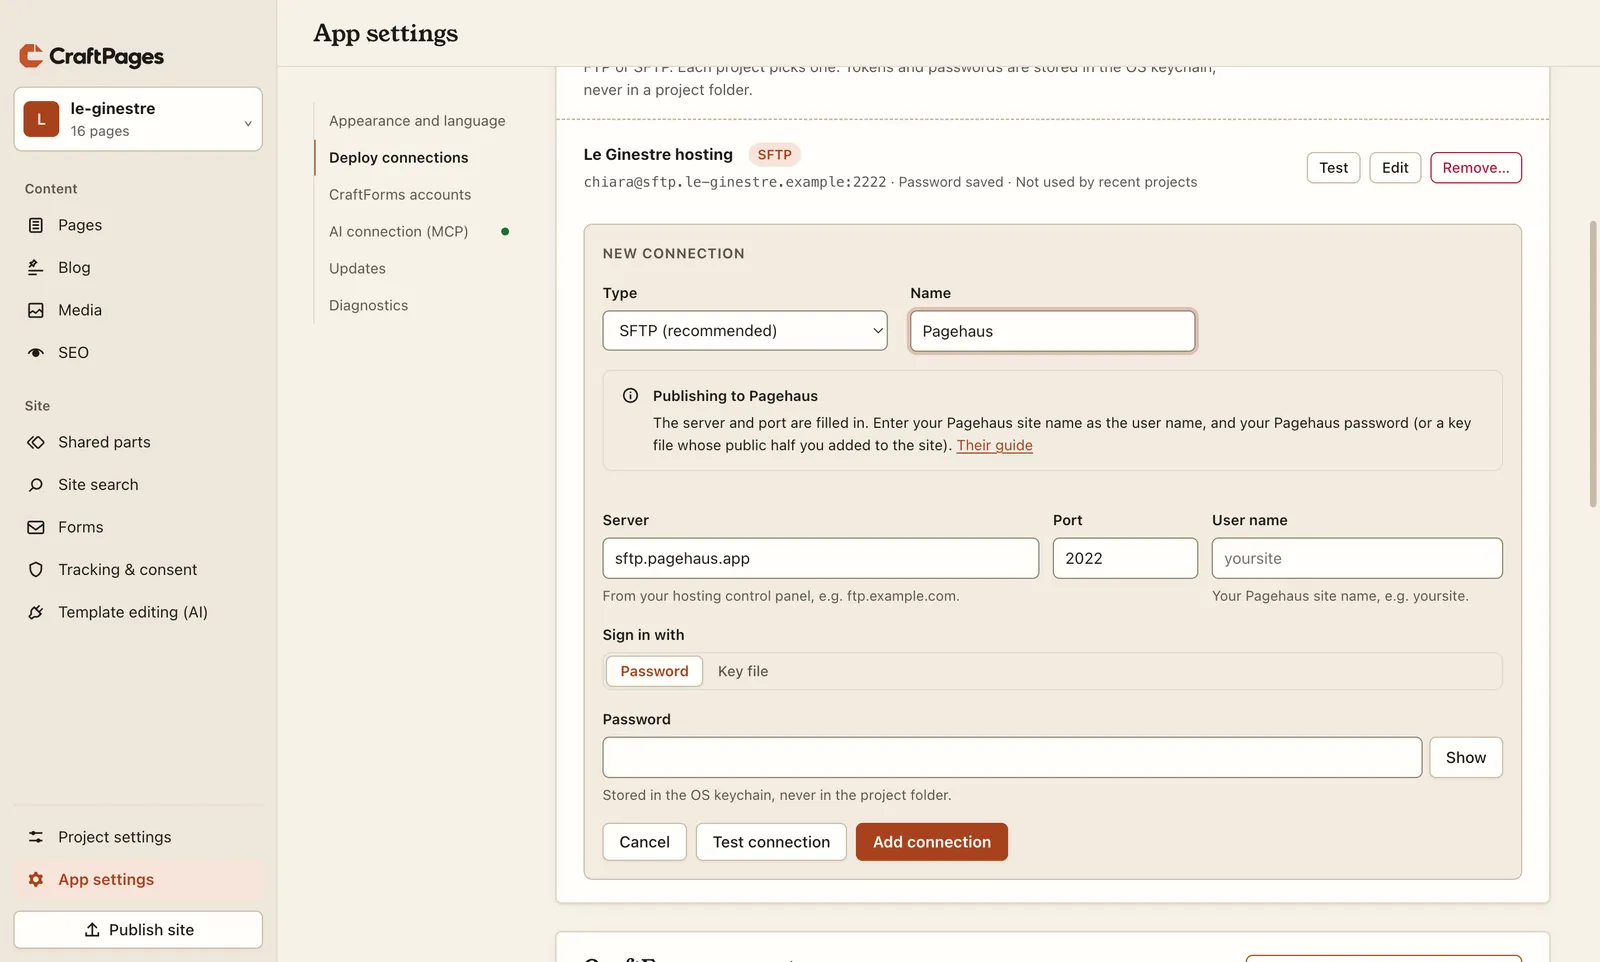
A deploy connection is a login to a place where sites are published. You add it once per computer, in App settings → Deploy connections, and any project can use it. That's handy if you look after several sites: your own, a client's, a friend's.
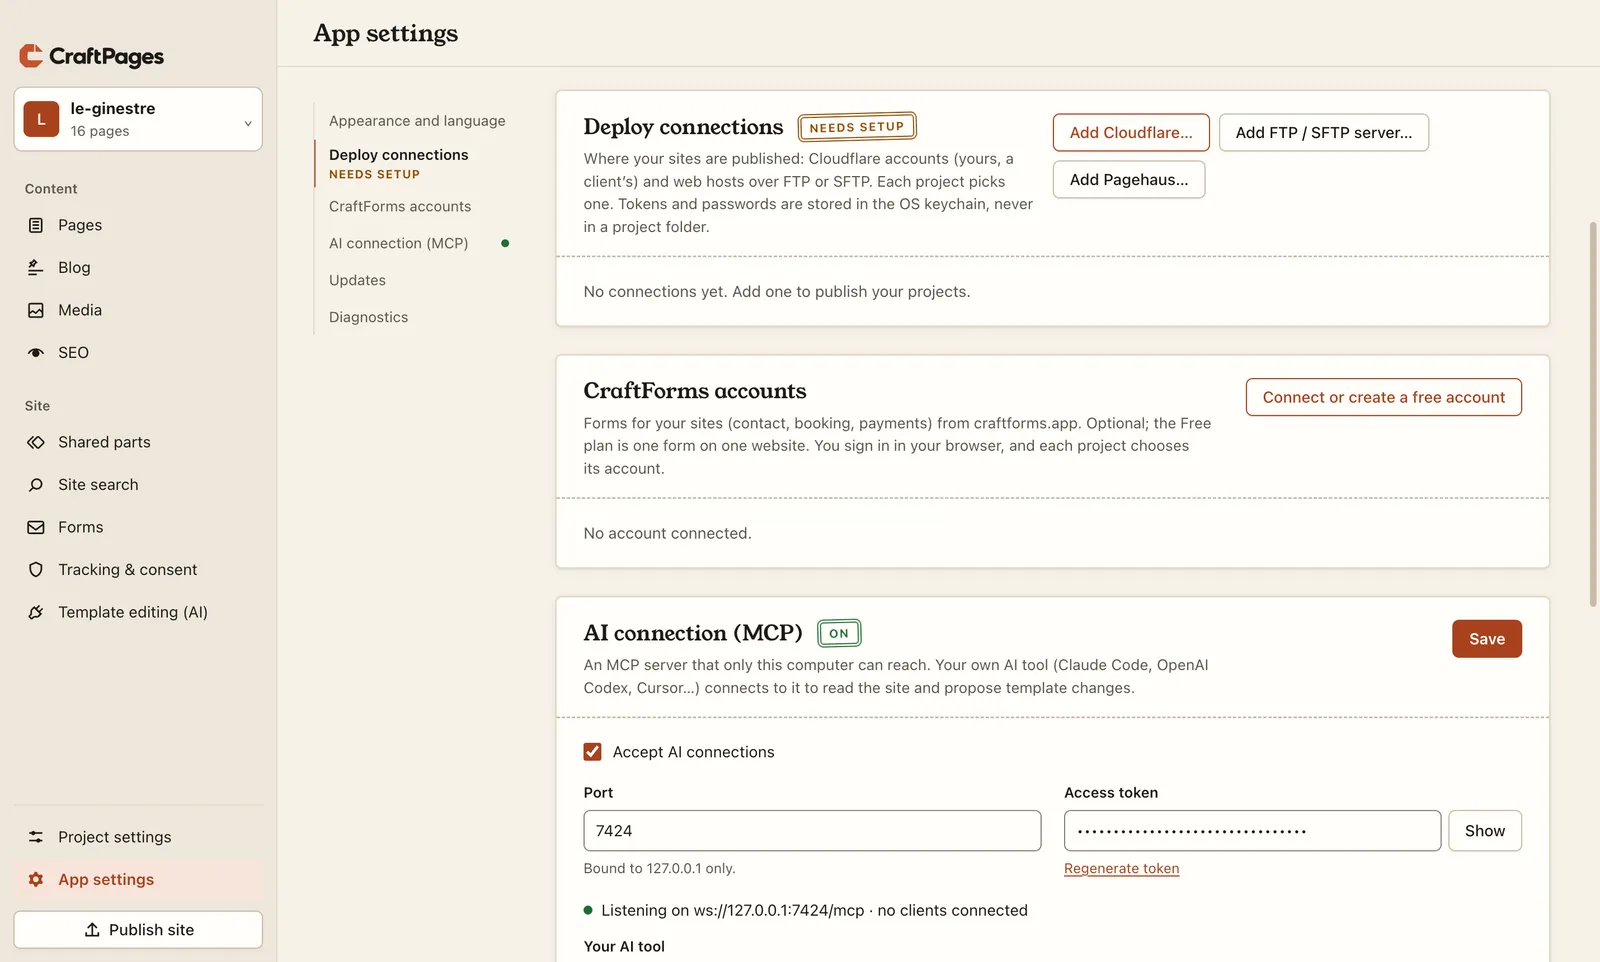
Your web host, over SFTP
Click Add FTP / SFTP server…. Your hosting panel (cPanel, Plesk or similar) lists the details, usually under "FTP accounts" or "SSH/SFTP access":
- Type: SFTP if your host offers it (most do). Otherwise FTP / FTPS, with Encrypt left on.
- Server, port and user name: exactly as your host gives them.
- Password, or a key file if you use SSH keys.
Then click Test connection.
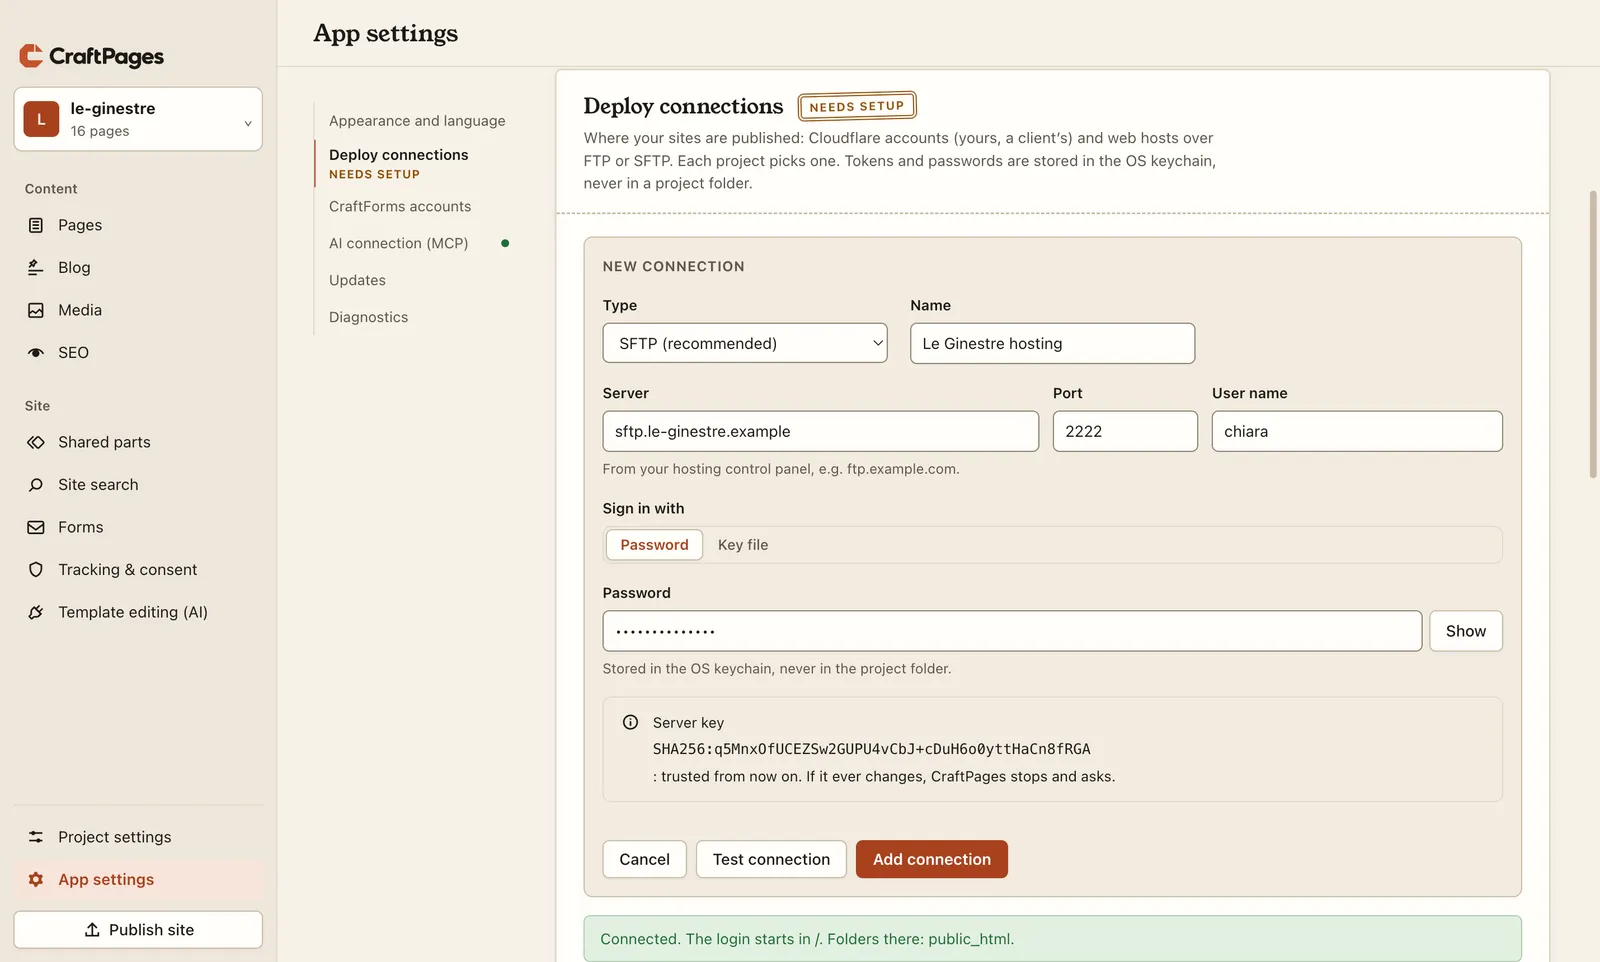
Two things happen on the first test. CraftPages remembers the server's key, its fingerprint: if it ever changes, CraftPages stops and asks before sending your password anywhere. And it tells you which folders it sees, which helps in step 2. Click Add connection and you're done here.
Cloudflare instead
Cloudflare serves static sites for free from data centres all over the world. You need a free Cloudflare account, then two things from it: your Account ID (a 32-character code shown in the dashboard) and an API token with one permission, Account · Workers Scripts · Edit. The form has a button that opens Cloudflare's token page with that permission already chosen, and our step-by-step Cloudflare guide walks through it with every click.
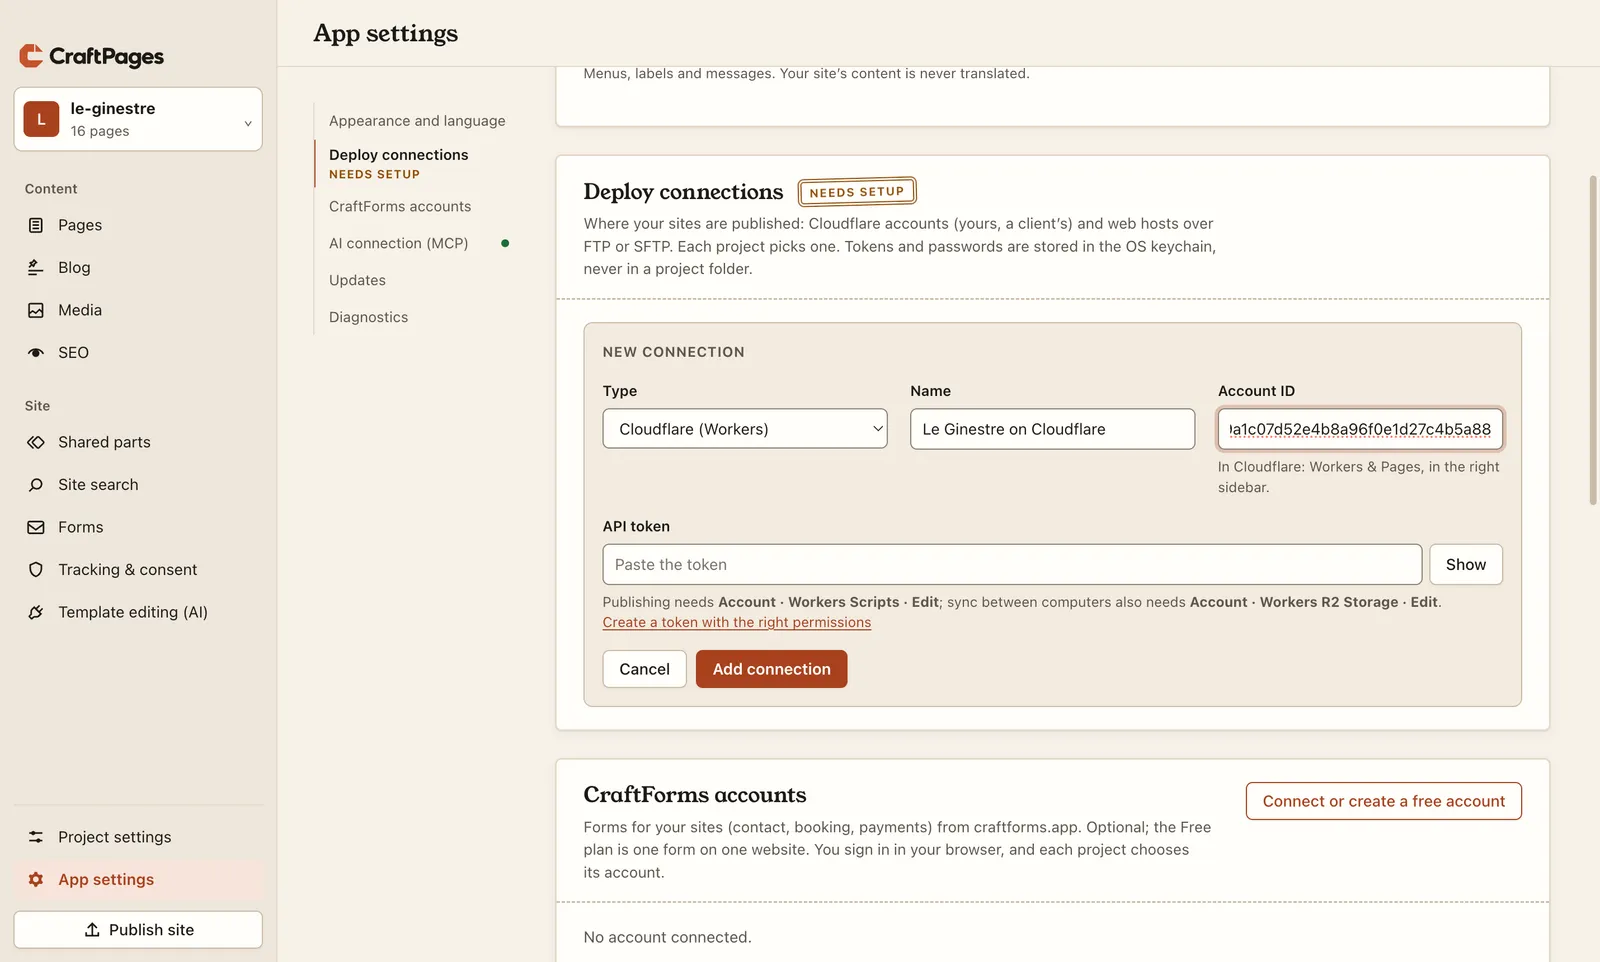
The site first appears at an address like le-ginestre.your-name.workers.dev. You can connect your own domain in Cloudflare later.
Or Pagehaus
Add Pagehaus… fills in the server and port for you. You type your Pagehaus site name and password, and that's the whole setup. CraftPages also checks the server against the keys Pagehaus publishes, even on the very first connection, and fills in your pagehaus.site address in the next step if the site has none yet.
Step 2. Tell the project where it goes
Now open the site's own settings: Project settings. Two sections matter today.
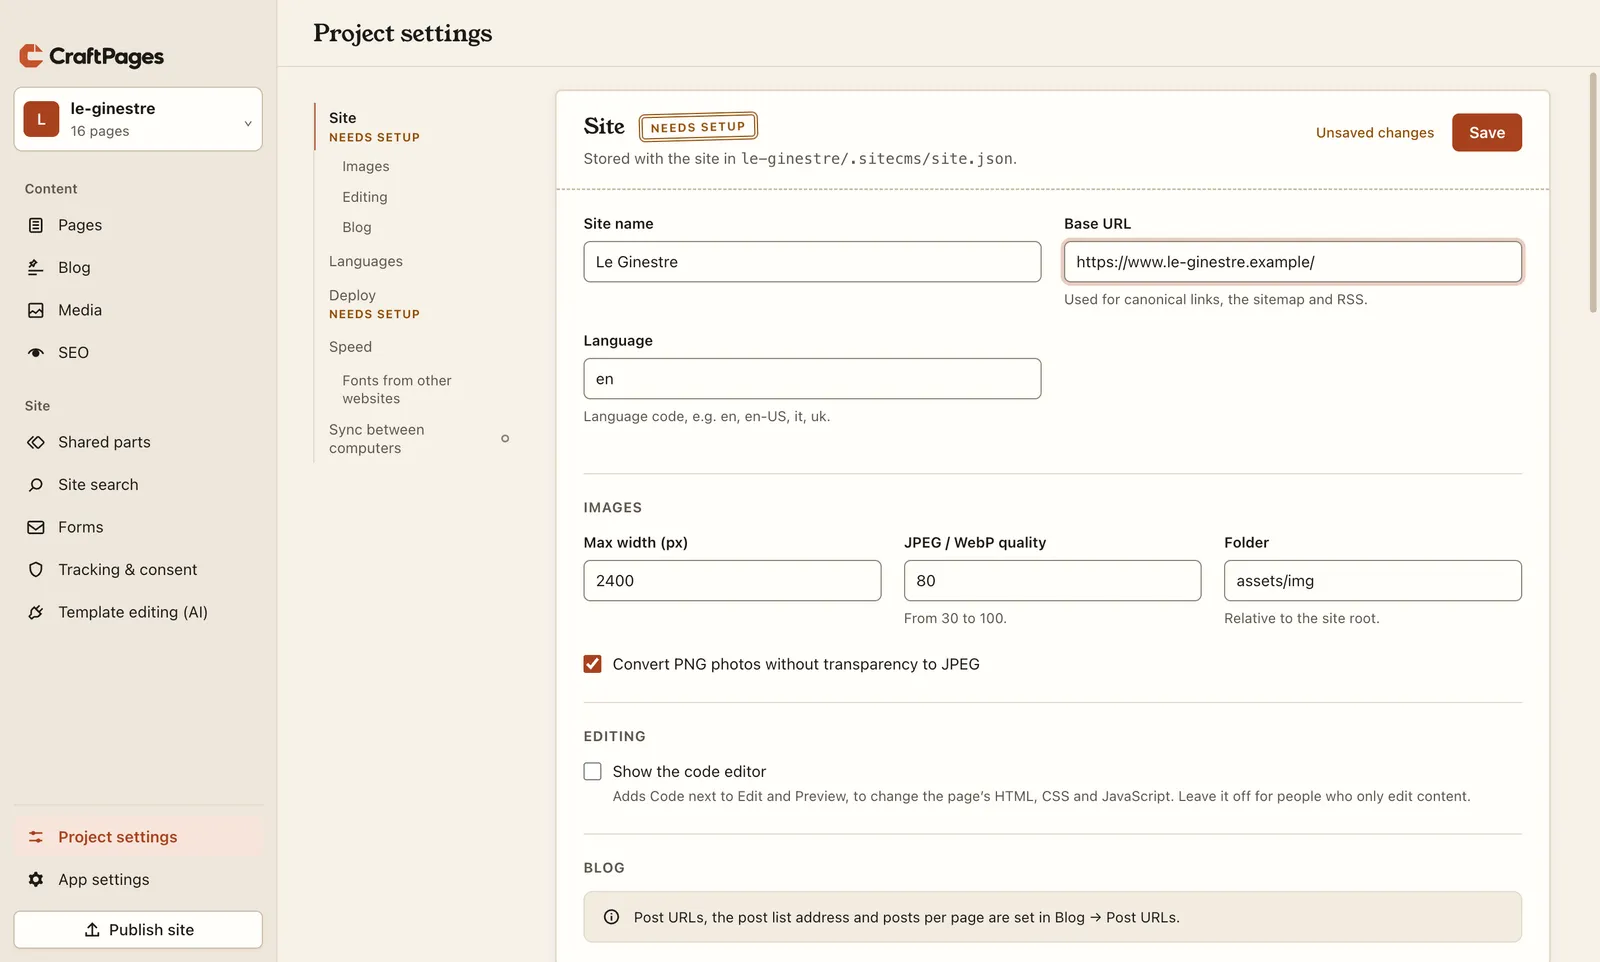
Site: give it a name and, more importantly, its Base URL, the address people will type. CraftPages uses it for the sitemap, for links search engines treat as the "real" address of each page, and for the previews that appear when someone shares a page. Chiara enters https://www.le-ginestre.example/.
Deploy: pick the connection from step 1, then the folder on the server where the site's files belong. Hosts usually serve a site from public_html, www or htdocs. You don't have to guess: Browse… shows the folders on the server, and you click into the right one and choose Use.
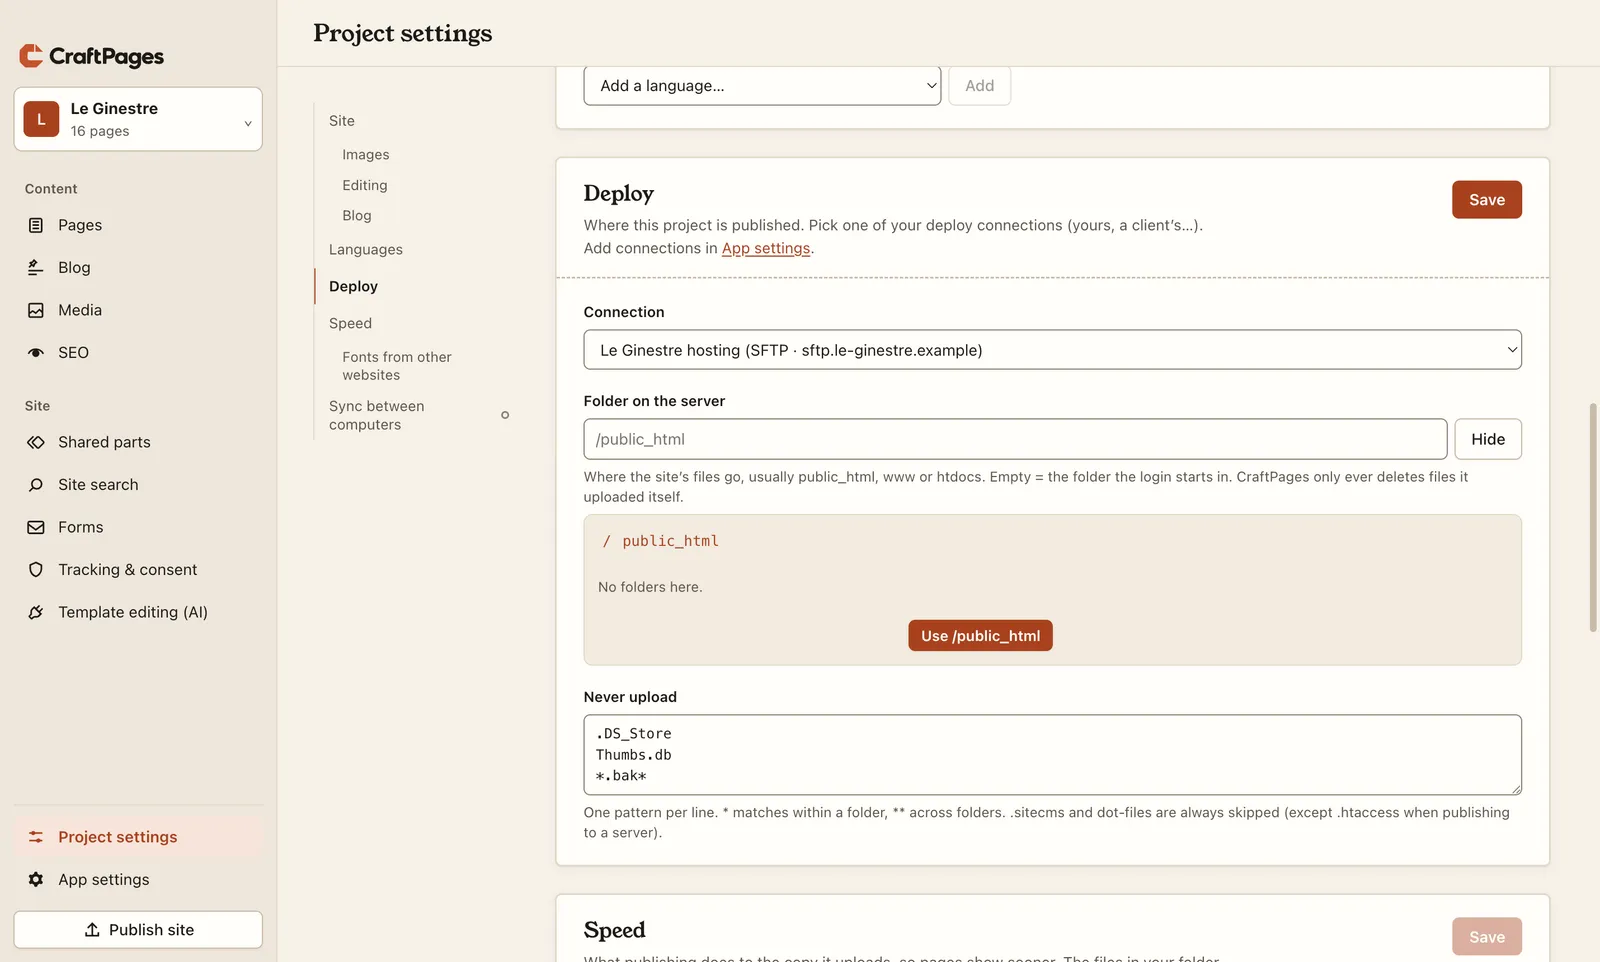
Click Save. One reassuring detail in the small print: CraftPages only ever deletes files it uploaded itself. If the folder holds other things (a cgi-bin, an old page you want to keep, a webmail link), they stay.
Step 3. Publish
Click Publish site at the bottom of the sidebar. The Publish screen lists what will go up: on the first publish that's everything, 16 pages plus the stylesheets, scripts and photos.
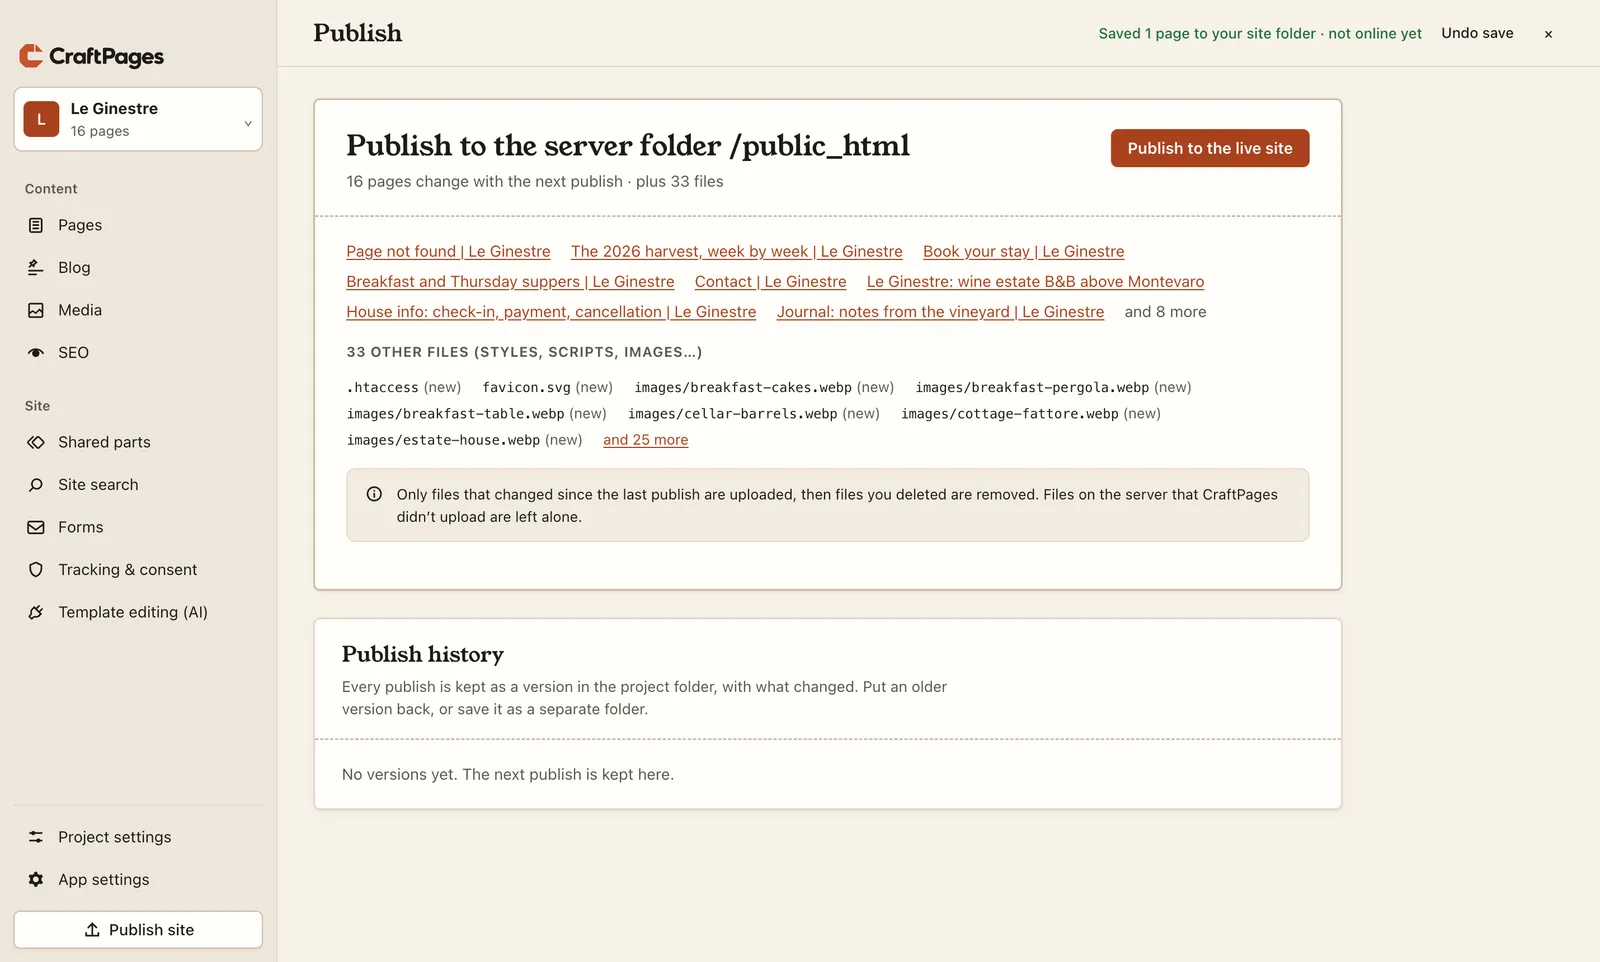
Click Publish to the live site. Before uploading, CraftPages refreshes the sitemap and the site-search index, so they always match what goes live. Then it uploads images and stylesheets first and pages last, so no page ever points at a photo that isn't there yet. You can leave the screen while it works.
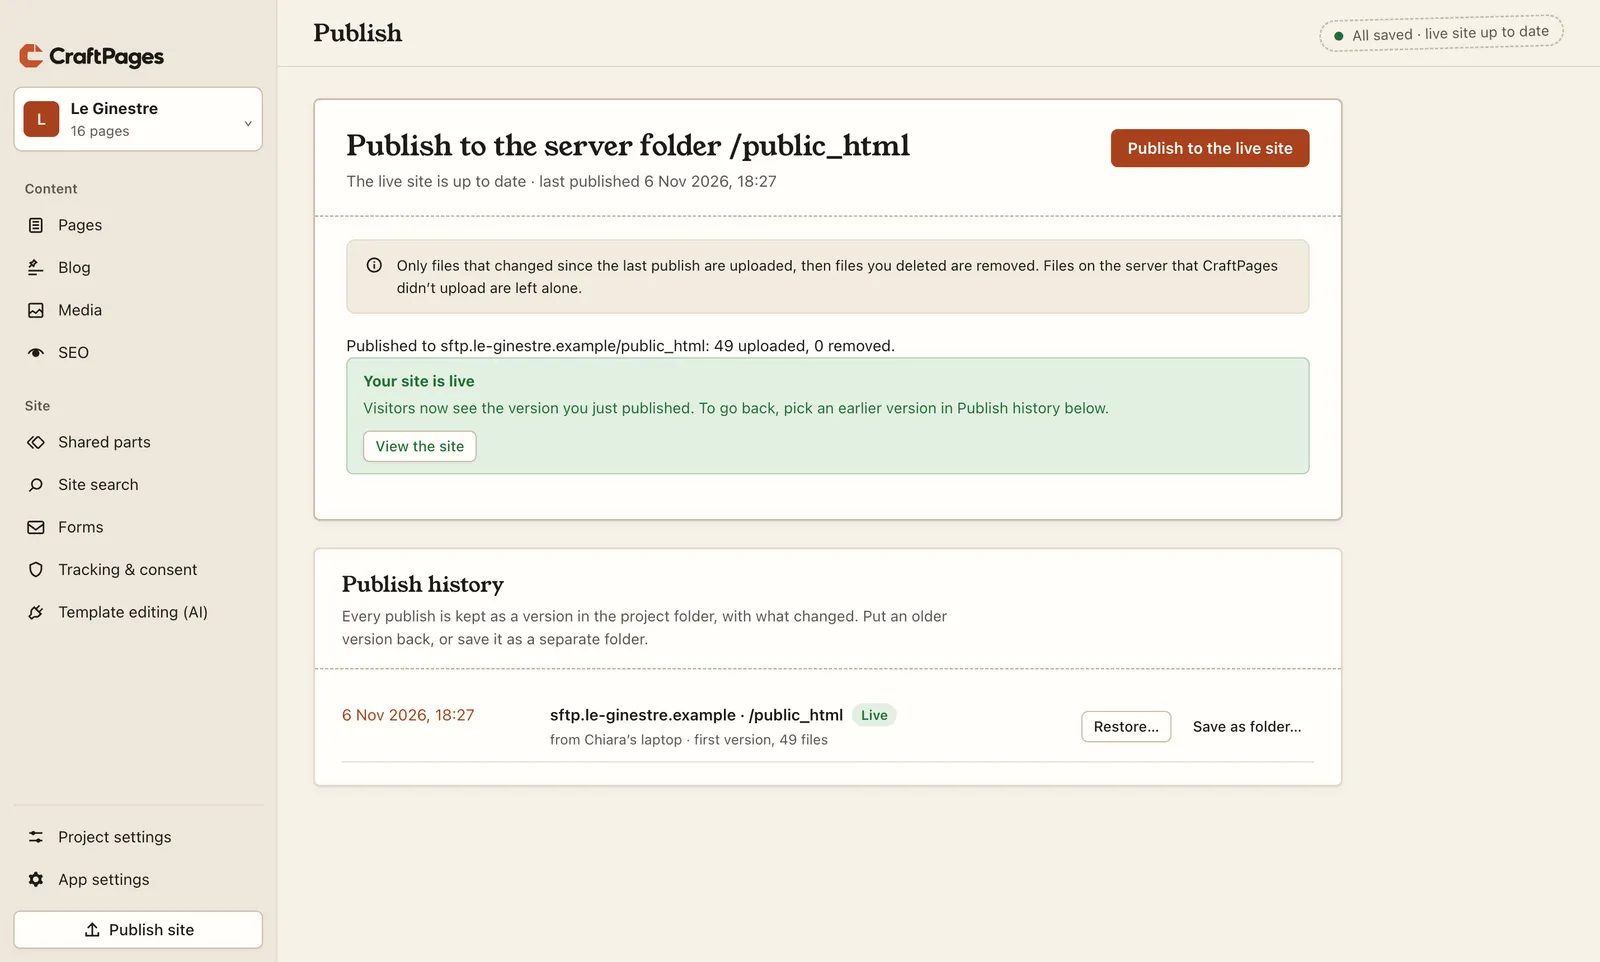
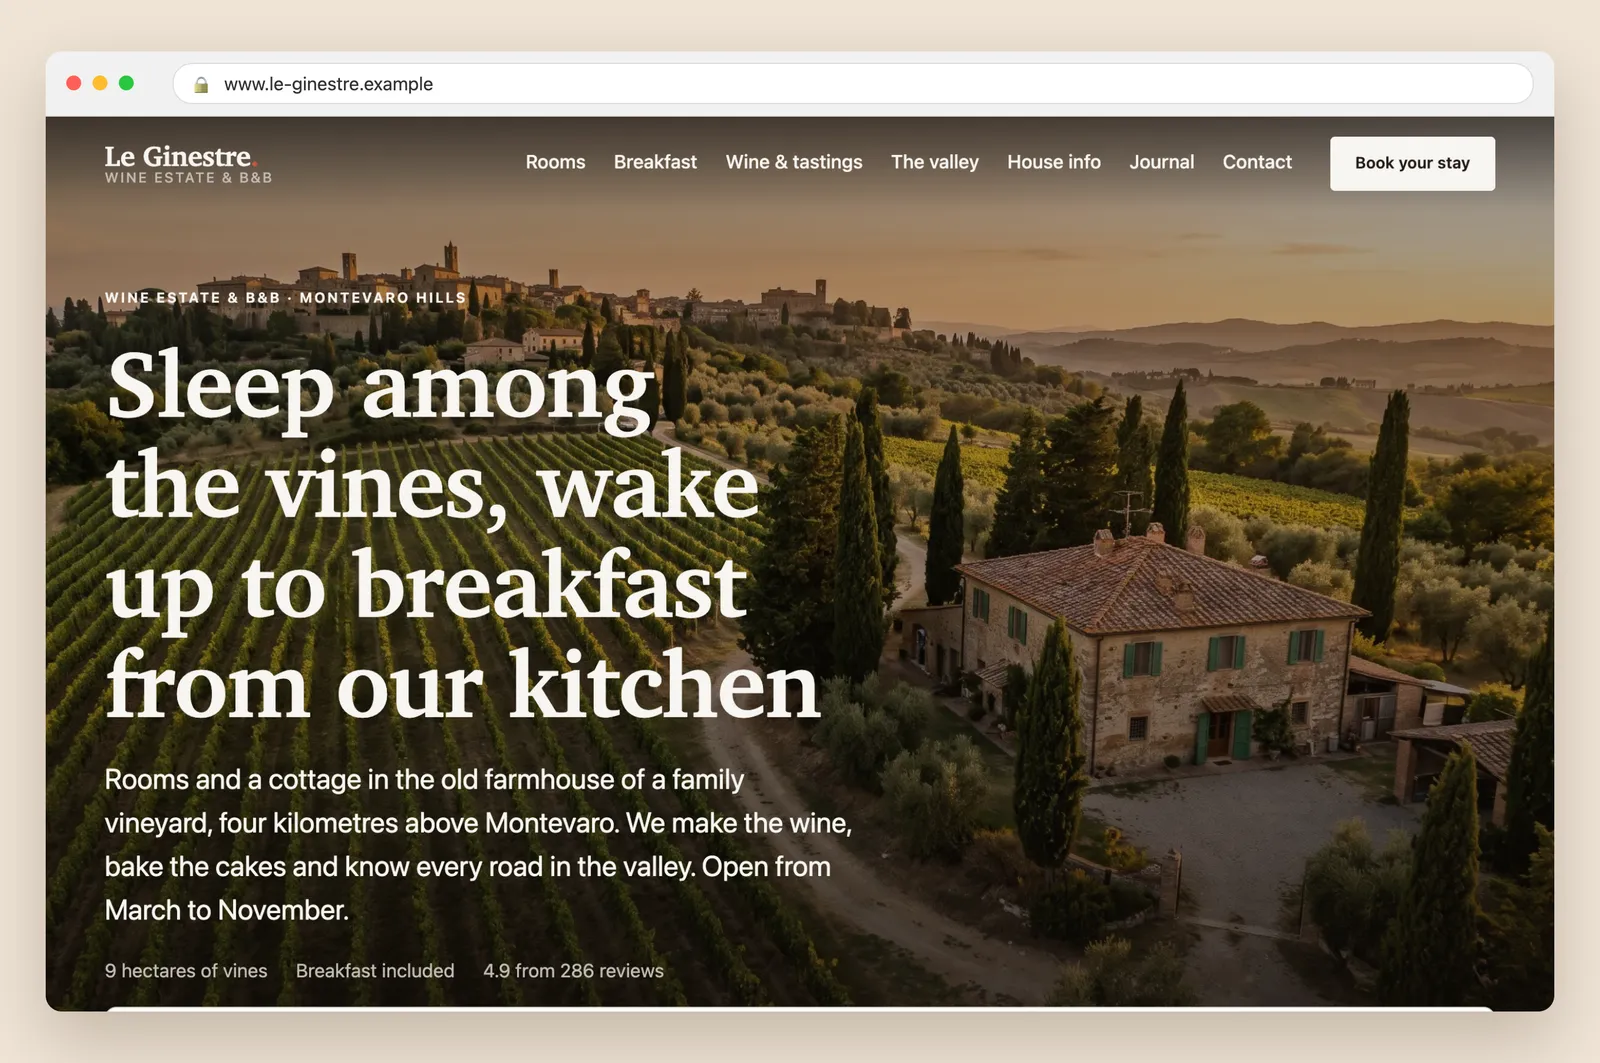
And there it is, at its own address, with the sentence Chiara wrote in part 1:
A safety net worth knowing about: if the server folder already holds files that CraftPages didn't publish (an older site, for example), the first publish stops and tells you before uploading anything. We hit exactly that while preparing this article. Files with the same names are replaced only after you agree, and the others are kept.
Step 4. The next time: only what changed
A week later Chiara adds a line to the Breakfast page: from April, breakfast is served on the pergola. She saves, clicks Publish site, and the screen lists exactly one page.
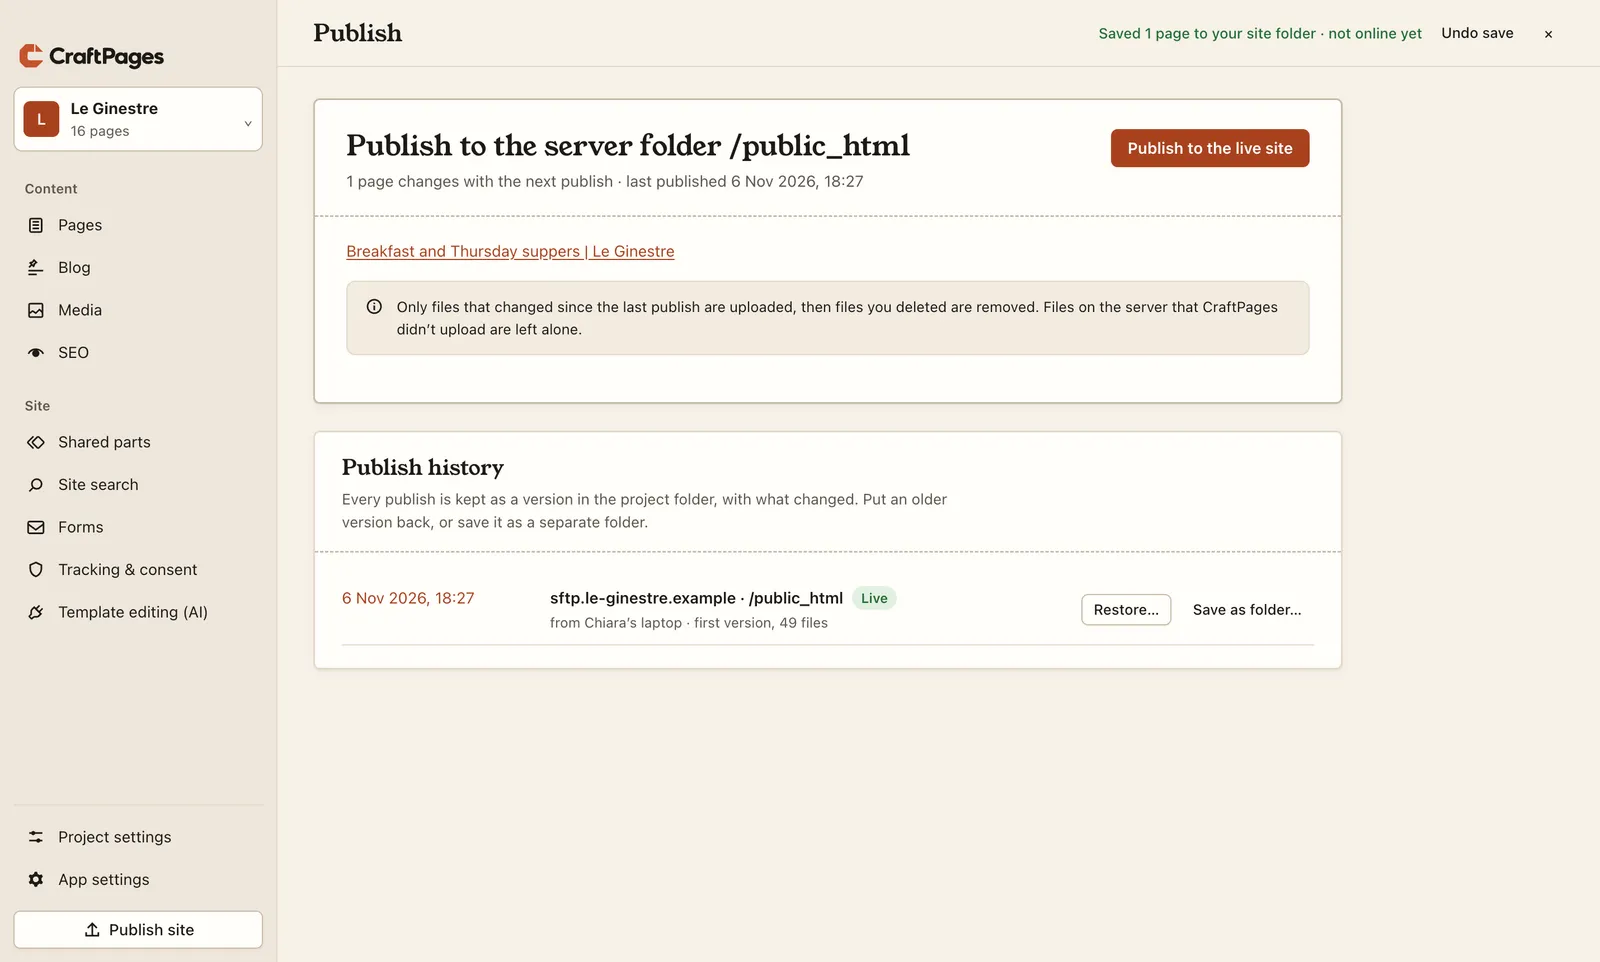
Publishing sends that one file and nothing else, so it's done in a second or two. The list follows your edits as you make them, including changes made outside CraftPages: if a developer edits a stylesheet in their own editor, it shows up here too.
If some pages still have unsaved edits when you publish, the Publish screen names them and asks: Save all and publish, or Publish without them. Half-finished work never goes live by accident.
Step 5. Going back
Every publish is kept as a version, with who published it, from which computer and what changed. You'll find them under Publish history, on the Publish screen.
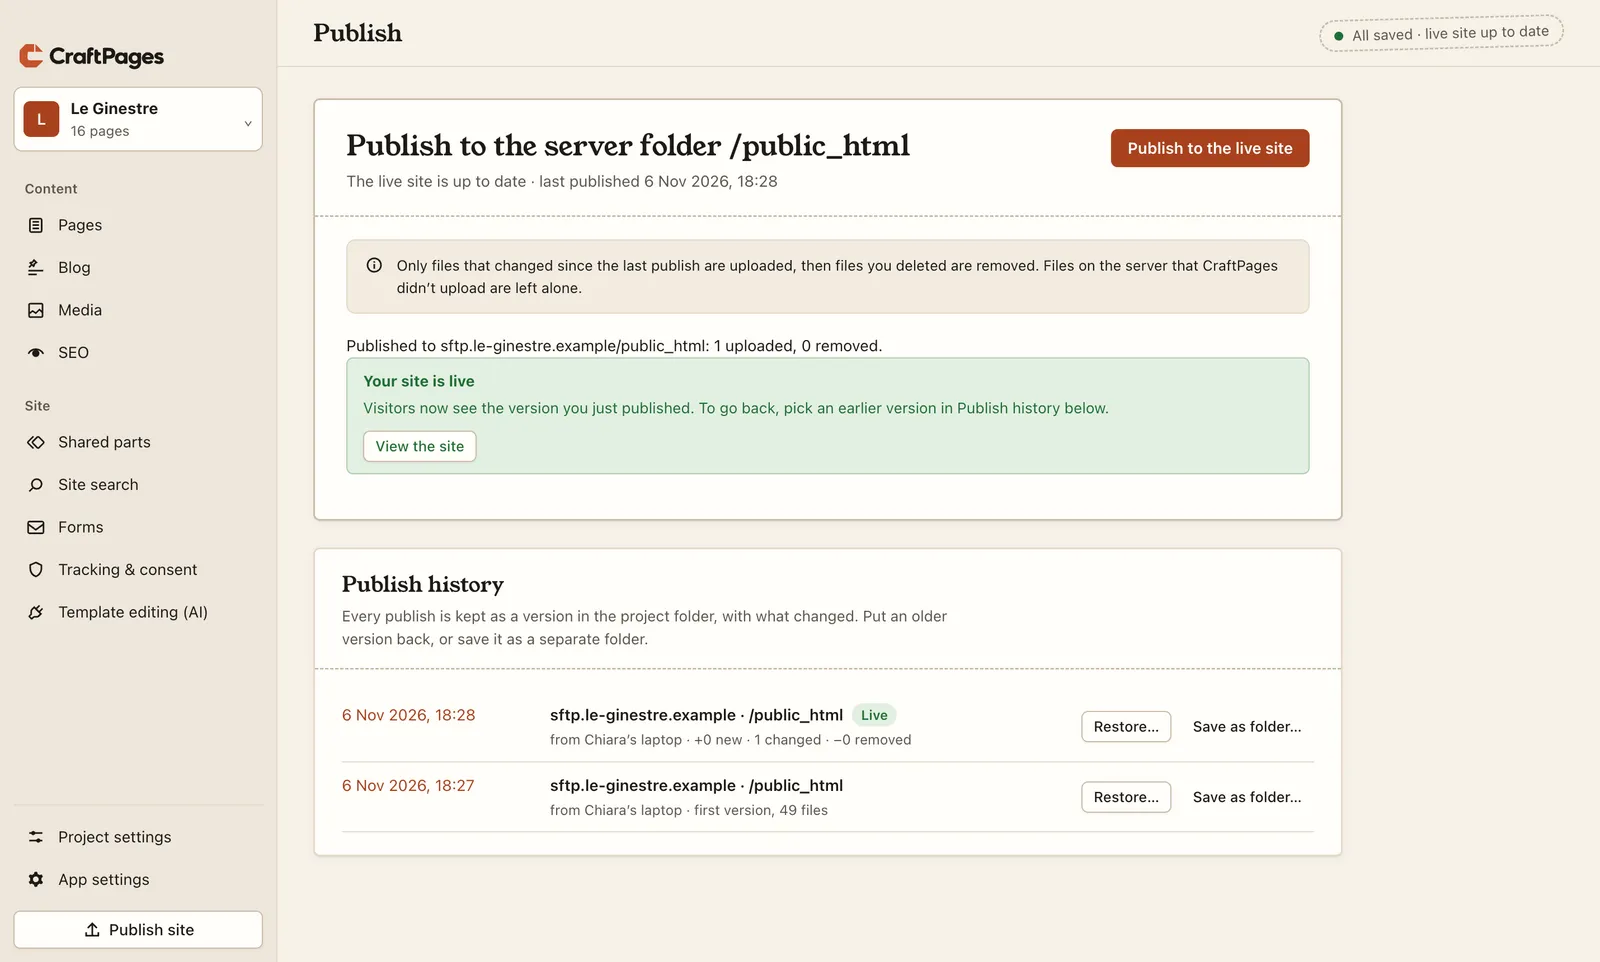
- Restore… puts the site folder back the way it was in that version (this can be undone too). Publish afterwards, and the old version is live again.
- Save as folder… writes a version out as a separate, complete copy of the site, handy for an archive or to compare.
- On Cloudflare, there's also a list of the versions Cloudflare itself keeps. Roll back… switches the live site to one of them instantly, without touching your folder.
Unchanged files are stored once however many versions hold them, so the history takes very little space.
Tip: make it faster
Project settings → Speed changes what publishing does to the copy it uploads. Your own files stay exactly as they are, so editing doesn't get harder. A good start for most sites:
- Minify CSS and JavaScript: on.
- Let browsers keep styles, fonts and images for a year: on. Visitors never see stale copies, because a changed file gets a new address.
- Put stylesheets into the pages: up to 30 KB per page.
Then check the result with PageSpeed Insights.
What you didn't have to do
No build step, no command line, no git, no deployment pipeline, no FTP program where you drag folders around and hope you got the right ones. Le Ginestre now lives where Chiara's hosting already was, and updating it is: edit, Save all, Publish.
The series
- Edit your website like a document
- Put your site online (you are here)
- Analytics and a cookie banner, done properly: Google Analytics from one ID, held until visitors agree
- SEO in an afternoon: titles and descriptions, the site check, sitemap, site icon, 404 page and redirects
- Forms that reach your inbox: a working contact form on a static site, with a free CraftForms account
- A journal (blog) in your own design
- Two people, two computers, one site: sync that combines edits and never overwrites
- A second language: Italian pages next to the English ones, with a language switcher
- Let an AI change the design: template edits you approve one by one
Next time: Le Ginestre wants to know how many people look at the rooms page before booking. That means analytics, and in Italy (and the rest of the EU) a cookie banner that really asks first. CraftPages 1.5 does both in one screen.